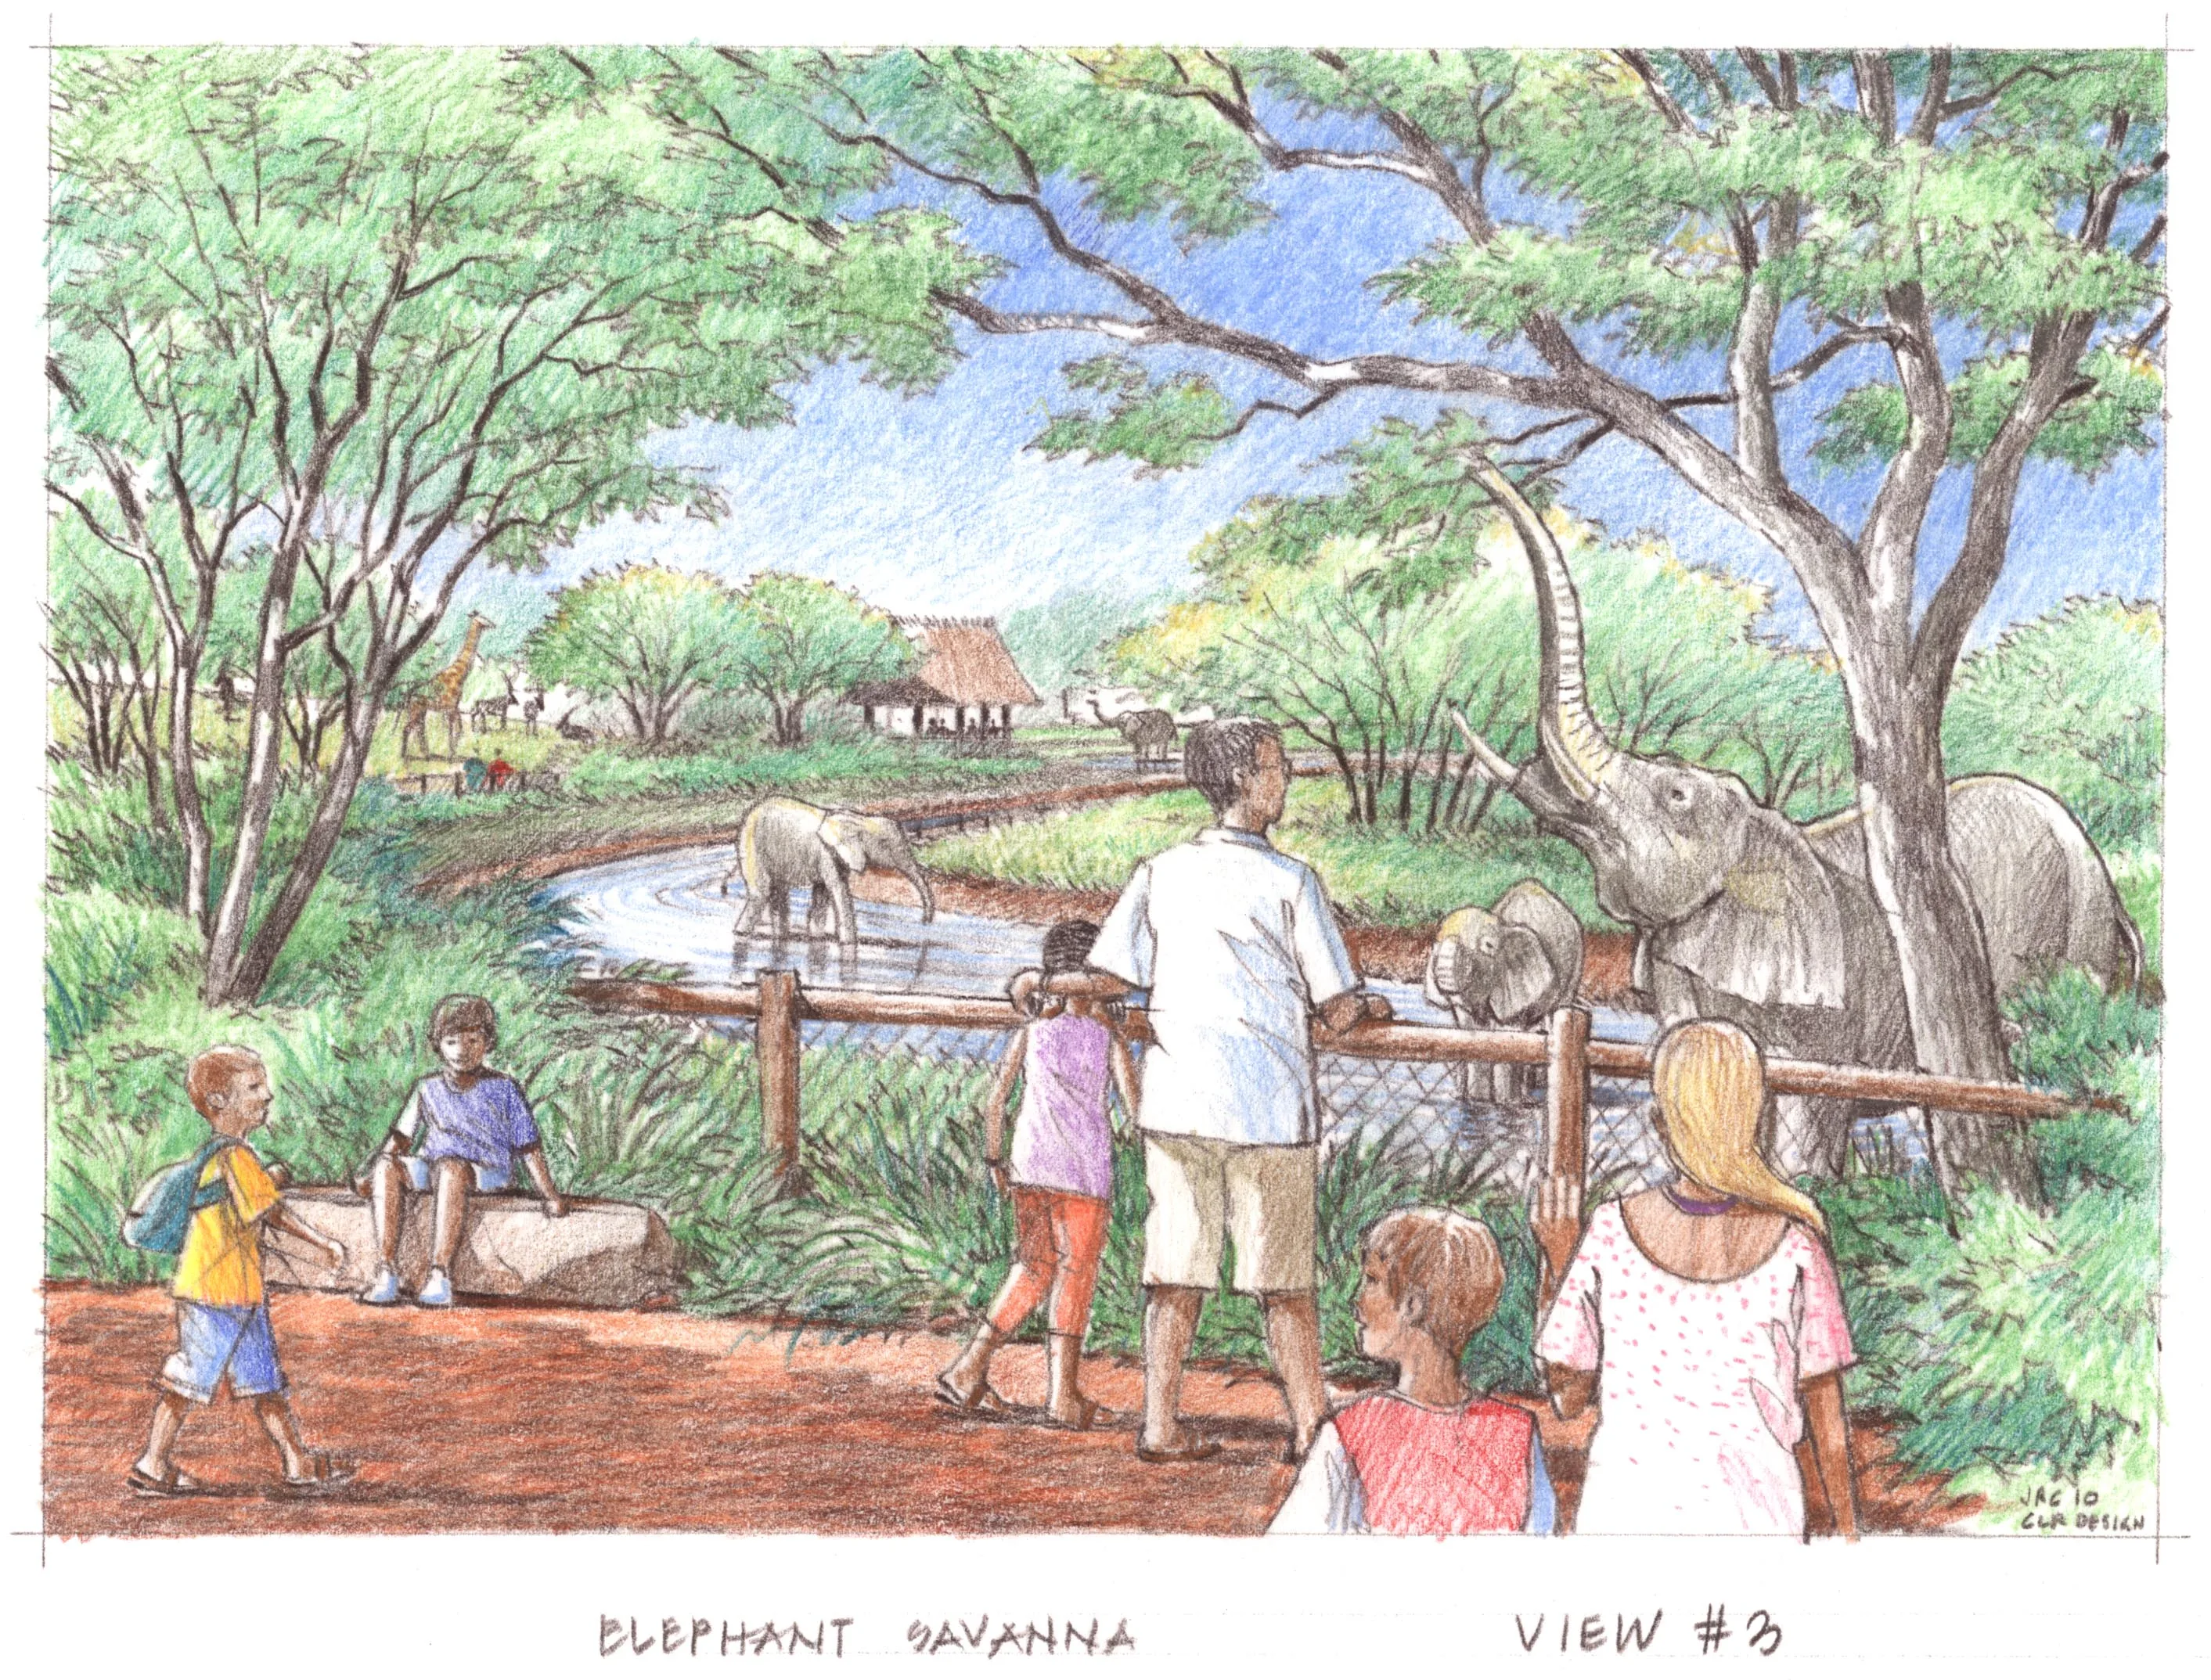
A convincing Planet Zoo 2 realistic zoo design begins with animal needs, visitor routes and service access, then uses architecture and landscape to connect them. Start with references and a broad blockout. Establish terrain, water, paths and major structures before placing fine scenery.
This guide is updated on 12 October 2026 before the 13 October launch. The creative tools described here are confirmed, including scenery scaling, flexi-colour, new foliage and terrain brushes and improved pathing. Exact path capacities, habitat values and operating effects need to be checked in the released game.
Realism is a design goal, not a replacement for the simulation's requirements. A habitat that resembles a natural landscape must still support the species, and a beautifully dressed service area must still provide the function your zoo needs.
Choose a setting with a clear visual story
Decide what kind of place you are building. A zoo inspired by tropical forest, temperate countryside or a rugged northern landscape can use different architecture, planting and terrain while following the same functional planning principles.
Use a concise brief: setting, main attraction, material palette and the experience guests should have while walking through the zoo. This gives the design coherence without requiring every building to look identical.
The Planet Zoo 2 themes provide different scenery characters. Planet includes zoo essentials; North uses hardy, rugged influences; East suggests bright, tranquil tropical spaces; South has an organic, elegant character; West is pastoral and temperate.
Treat those descriptions as artistic starting points. They do not establish which theme satisfies an animal's welfare requirements. The species' needs and the zoo's visual story are related considerations, but each needs its own review.
Study functions as well as appearances
Real zoo and aquarium tours can provide useful references for arrival spaces, habitat approaches and the transitions between visitor areas. Natural environments can inform planting, water edges and the way barriers are visually integrated.
Look for relationships you can adapt. Notice how a visitor route approaches a view, how buildings sit in the landscape and how service areas connect to animal homes. These ideas are more reusable than copying every decorative detail from one photograph.
Keep the reference separate from the game's requirements. A real-world enclosure or building is inspiration, not proof that the same dimensions or animal combination will work in Planet Zoo 2.
Choose a few references that support your brief. A large collection of unrelated images can make the project less clear. The purpose is to decide the structure and visual language of the zoo you are currently building.
Draw the broad plan before decorating
Use a top-down view or a simple sketch to mark the entrance, first habitat, guest areas, staff support and the main routes between them. Identify the centrepiece if the zoo has one.
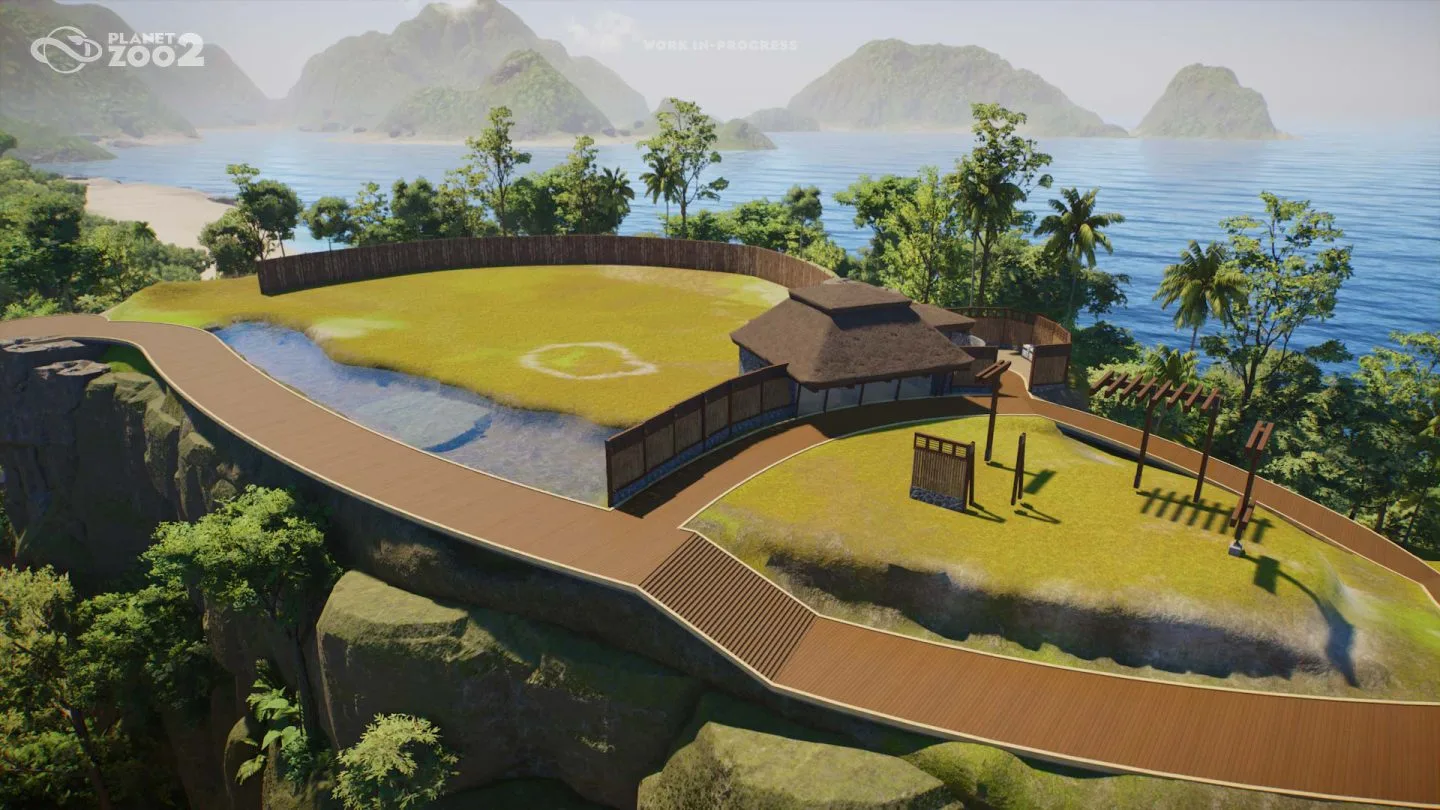
The early habitat blockout shows land, water, paths and support buildings before detailed dressing. It is a useful model for deciding the shape of the space while changes remain straightforward.
Plan large features first. Water bodies, major elevation changes and buildings affect everything placed around them. Small props cannot resolve a fundamental mismatch between the site and the habitat you want to build.
Review the animal's requirements during this stage. If its home needs a different balance of land, water or other conditions, make that correction before committing to a detailed scene. The specific values should come from the game rather than this visual example.
Connect habitats with the surrounding landscape
A realistic habitat can feel more integrated when similar planting and landscape materials continue toward the guest viewpoint. This softens the visual boundary without removing the animal's actual containment needs.
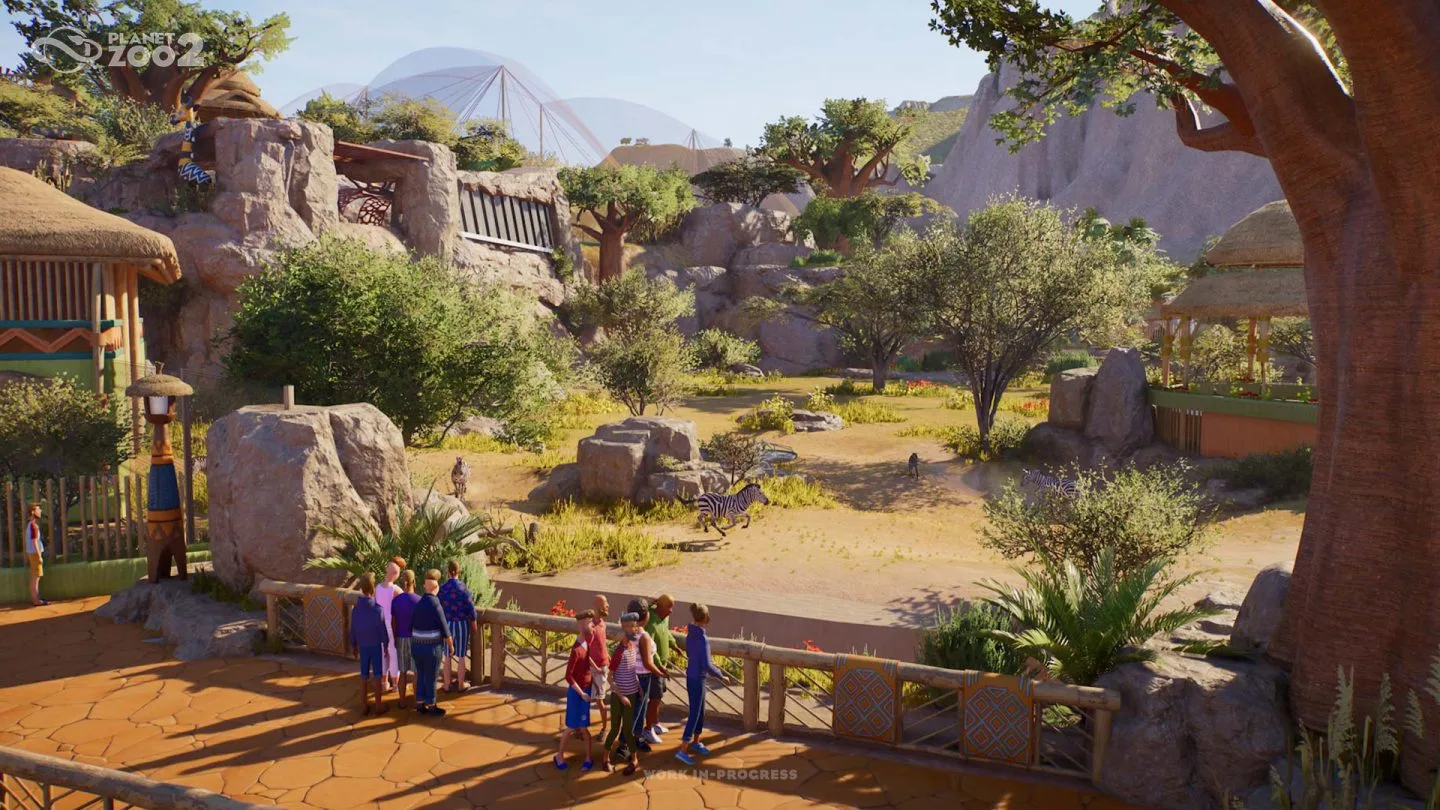
The guest route beside rocks and vegetation illustrates how the habitat's visual language can continue into the viewing area. Use repeated natural forms to connect the two spaces while keeping their functions clear.
Water, riverbanks, fallen-tree forms and planting can help conceal artificial-looking edges where appropriate. Treat concealment as a visual technique. It does not establish that scenery alone is a valid barrier or that animals cannot cross a particular feature.
Verify the actual habitat boundary and species requirements after dressing the area. A barrier hidden beautifully within the landscape still needs to perform its function in the game.
Design animal retreat as part of the view
Guests want to see animals, but animals need places away from view to recover and avoid stress. A realistic design should provide both an enjoyable visitor viewpoint and an appropriate retreat environment.
Avoid exposing the whole habitat merely to make the best screenshot easier to capture. As a design choice, use changes in vegetation, landform or structures to create areas with different visibility while checking the animal's actual needs.
Animal welfare includes food and water, enough space, terrain, plants, social conditions and enrichment. A hidden corner is not a substitute for those wider conditions, nor does the guide claim a universal retreat percentage.
Review the habitat from the animal-care perspective as well as the guest perspective. The project should remain understandable as a home for the species, not only a scene arranged around a visitor camera.
Work in layers from terrain to detail
Start with the terrain and broad pathing network. Establish the habitat borders, the major land and water features, and the largest buildings or landscape objects. Then move toward smaller rocks, branches, planting and decorative details.
The confirmed terrain tools can work at large scale for broad areas and small scale for detail. Improved terrain materials and blended brushes help create varied surfaces, while the nature brush can build out foliage efficiently.
Nature-brush plants remain individual scenery objects that can be selected and moved. Use that flexibility to establish the overall vegetation quickly and then refine the areas guests will see closely.
Do not make every surface equally busy. Realistic design benefits from a hierarchy of large forms and fine details. Concentrate detail where it explains the environment or visitor experience, rather than scattering props uniformly across the zoo.
Use scale deliberately
Planet Zoo 2 allows scenery scaling, including natural scenery. This can help adapt foliage to planters, create variation in landscape forms and fit details into smaller spaces.
Begin with the large proportion relationships: building height against nearby trees, roof shape against the plaza and the size of landscape elements beside paths. Then refine smaller objects.
Scaling is an artistic tool, not proof that any resized object will retain every functional use. Check the actual object behaviour where your design depends on it.
Avoid a scene in which every object has been shrunk solely to make more detail fit. A coherent proportion system usually reads more naturally than maximum density. Review the area at guest level to see whether its scale feels believable, rather than relying only on the top-down arrangement.
Plan guest areas as places people use
Guests need food, drink, toilets and places to rest. A realistic zoo should give those functions deliberate locations, including an early service area and additional areas as the route extends.
Think about the experience of stopping as well as walking. A seating space can face a landscape or a zoo vista, while a service building should connect clearly to the surrounding visitor route. These are design suggestions rather than verified guest-flow formulas.
Education also belongs in the experience. Educators can give Animal Talks, and the zoo supports education speakers, boards, web cams and tours. Consider where a visitor would naturally pause to learn about an animal.
Keep the guest area related to its nearby habitat without copying the habitat's entire environment. Repeating materials or planting can create continuity while giving each space a clear purpose.
Make staff areas part of the zoo's story
Staff facilities and utilities no longer need to be hidden from guests. Guests can enjoy seeing Vets and Keepers caring for animals, giving you more freedom to integrate operational buildings visibly.
Place support alongside the habitats and jobs it serves. The described building workflow includes keeping Keeper Huts near animal homes. Then use architecture and scenery to make the support area feel like part of the same zoo.
Facilities can be opened visually by removing walls, and props such as cupboards, books and mugs can suggest a lived-in workplace. Add those details after the practical layout is resolved.
The care function comes first. A detailed staff room does not establish that the area's workload, access or assignments are correct. Verify the actual operating arrangement before treating the scenery as the finished result.
Build an aquarium around its viewing experience
An aquarium can act as a centrepiece that influences routes and sightlines. If it is the zoo's major attraction, plan how guests encounter it and how its architecture fits the setting.
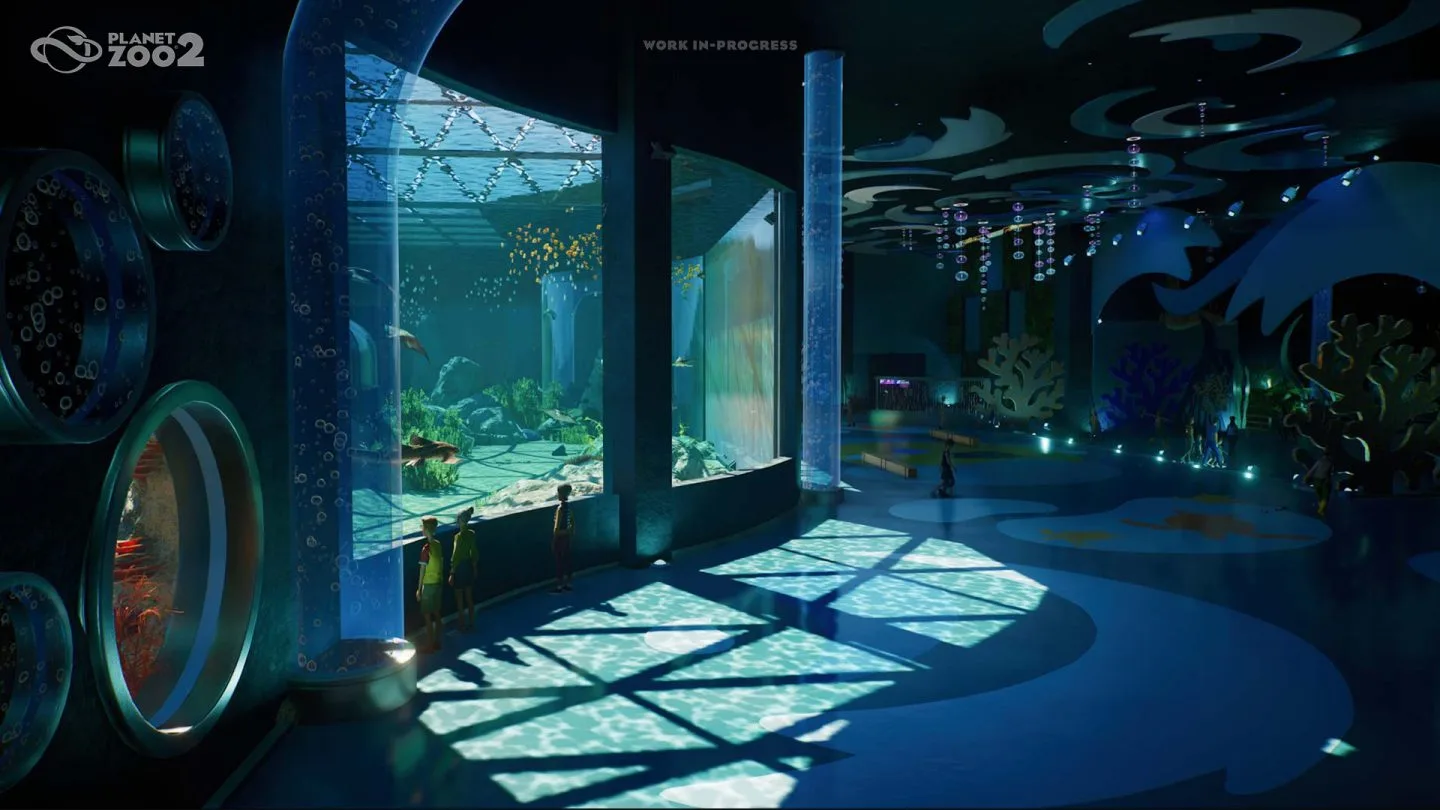
The indoor aquarium view illustrates large underwater windows, circulation space and lighting working together. Use it to study the relationship between the viewing surface and the room around it rather than copying an unverified tank specification.
Fully aquatic animals need appropriate custom aquariums, filtration and keeper access. Those functional requirements belong in the early blockout, alongside the guest-viewing concept.
Do not build the room as a decorative shell and leave the animal-care arrangement until the end. The aquarium's animal home, viewing space and support need to work as one project, even if you develop the details in stages.
Review the zoo at several scales
A broad overhead review shows how sections connect. Guest-level review reveals building proportions, view framing and the experience of moving between areas. Close habitat review helps you assess detail and the animal's environment.
Use all three. A zoo can look coherent from above while containing awkward local transitions, or look impressive in one habitat while lacking a clear route between its sections.
Review from more than the intended promotional angle. Carefully staged views can hide incomplete spaces outside the frame. A functioning zoo needs to remain understandable wherever guests and staff actually use it.
Return to the brief when deciding what to change. If the problem concerns layout, adjust the broad arrangement. If it concerns proportion, refine the major forms. Save small decoration for a space whose underlying design already works.
Verify the design in operation
After the released game is running, inspect the actual welfare, guest and staff feedback relevant to each section. Appearance alone cannot establish a successful habitat or a reliable service area.
Use a short review: animal requirements, visitor amenities, care support, necessary utilities and usable access. Add the actual conditions shown by the game rather than using guessed numerical rules.
Make targeted changes based on the issue you observe. If an animal need is unmet, solve that need. If a route or service arrangement is unclear, revise that relationship. Avoid responding to every problem by adding more scenery.
A realistic zoo is complete when its visual story and operating requirements fit together. The landscape should make the animal homes and visitor spaces feel coherent, while the actual simulation confirms that the zoo can care for its residents and support the people using it.