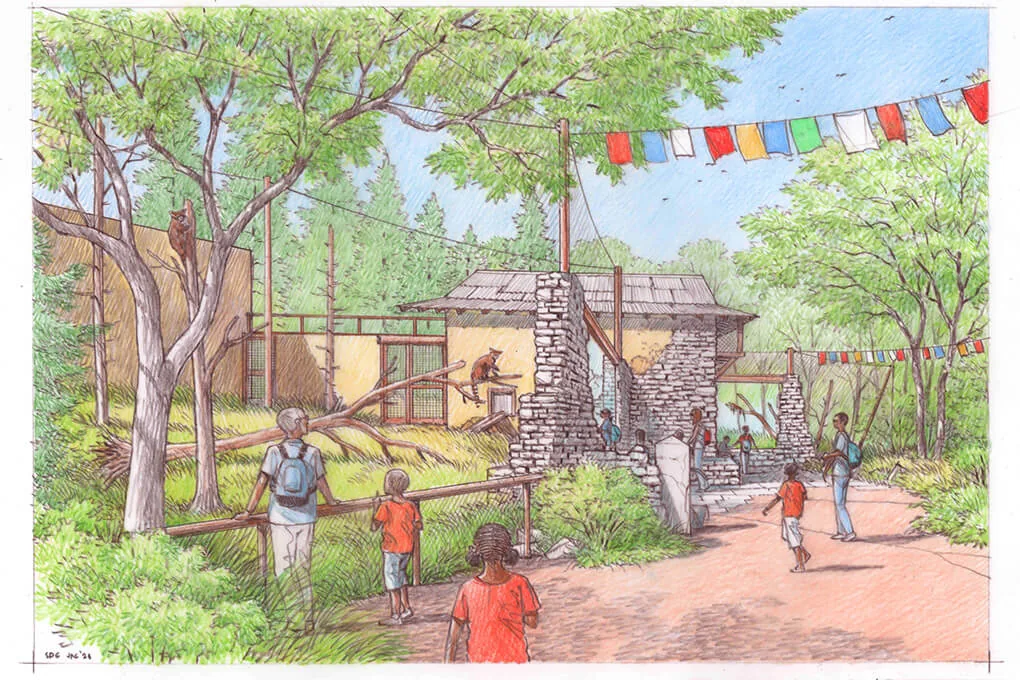
A strong Planet Zoo 2 entrance design gives guests a clear first route, places essential amenities near arrival and establishes the zoo's visual style before you decorate the details. Begin with a simple blockout of the entrance, first habitat, guest area and staff support. The confirmed path tools include stamps in different shapes and sizes, and these can help create plazas or cut planting spaces into them.
This guide is updated on 12 October 2026 before the 13 October launch. Its design suggestions are planning choices, while exact path dimensions, guest capacities and entrance-interface steps need to be verified in the released game.
Treat the entrance as an operating area as well as a landmark. Guests need food, drink, toilets and rest during their visit, and the first habitat needs a practical care arrangement. Resolve those relationships before spending time on small scenery pieces.
Choose the entrance's job in the zoo
Decide what guests should understand when they arrive. The entrance may introduce a regional theme, direct attention toward a central attraction or provide a calm meeting place before visitors reach the animals.
Choose one main idea. If you want an aquarium to be the centrepiece, the arrival route can reveal or suggest that destination. If the zoo is organised around a natural landscape, the entrance can introduce its materials and planting. These are design decisions rather than mechanical bonuses.
Write a short brief: visual theme, first destination, nearby amenities and the route onward. This gives you a way to judge later decoration. A piece that does not help the brief may be unnecessary even when it looks attractive on its own.
Keep your available site and first habitat in view. An elaborate entrance should not force the rest of the zoo into an awkward arrangement simply because its facade was built before its footprint was planned.
Block out the arrival area before building the facade
Start with the broad spaces. Mark the approach, the entrance building or landmark, the first guest plaza and the route toward the initial habitat. Include a nearby support area for the work that first section needs.
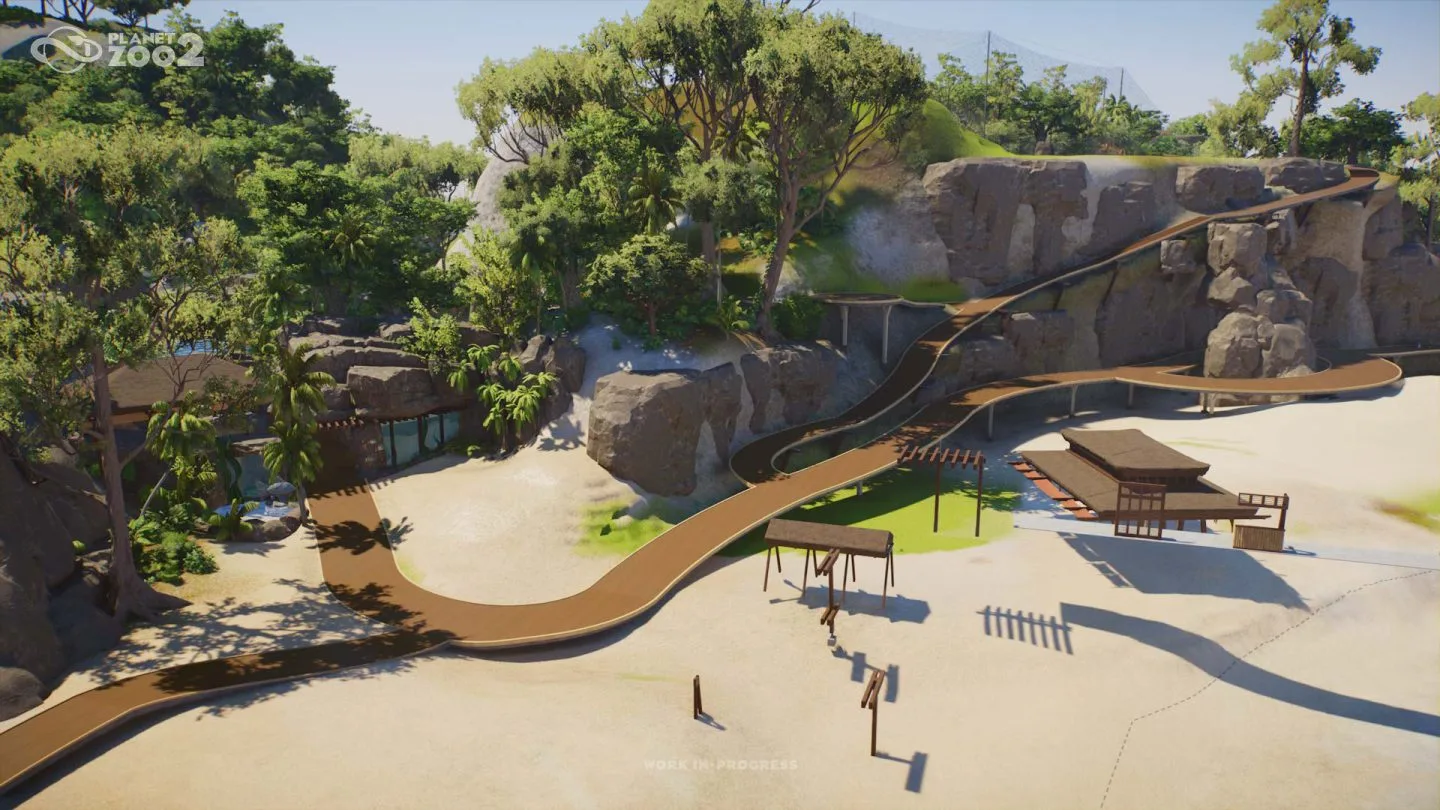
The blockout shows the relationship between guest paths, buildings and a habitat area before fine detail is added. Use this stage to reserve usable space and judge how the first attraction connects to arrival. The image is a layout reference, not a verified minimum-width diagram.
Work at the scale of areas rather than individual decorative objects. You can change a plaza or building footprint relatively easily while the design is still simple. Once the space is covered in fine scenery, correcting the basic relationship becomes more time-consuming.
The goal of the blockout is an entrance you can walk through conceptually: arrive, orient yourself, find an amenity if needed and continue toward the animals without an unclear detour.
Shape the plaza around movement and stopping
An arrival plaza serves visitors who are moving through and visitors who pause to decide where to go. Give both activities a place in your design.
As a planning choice, keep the main direction obvious and place decorative or resting elements where they do not obscure it. A planter can frame a route, but a cluster of planters placed solely for symmetry can make the route less legible.
Planet Zoo 2's path stamps offer different shapes and sizes. They can create large plazas and cut out interesting shapes for gardens. Use that flexibility to test the overall footprint before committing to a detailed pattern.
Do not assign a universal best plaza size. The appropriate shape depends on the entrance footprint, the first destinations and the space available around them. Exact guest-flow effects should be observed in the released game rather than inferred from a drawing alone.
Put arrival amenities where they belong
Guests need access to toilets, food, drink and places to rest. An entrance area can provide early access to some of these essentials, while the wider zoo will need further service areas as it grows.
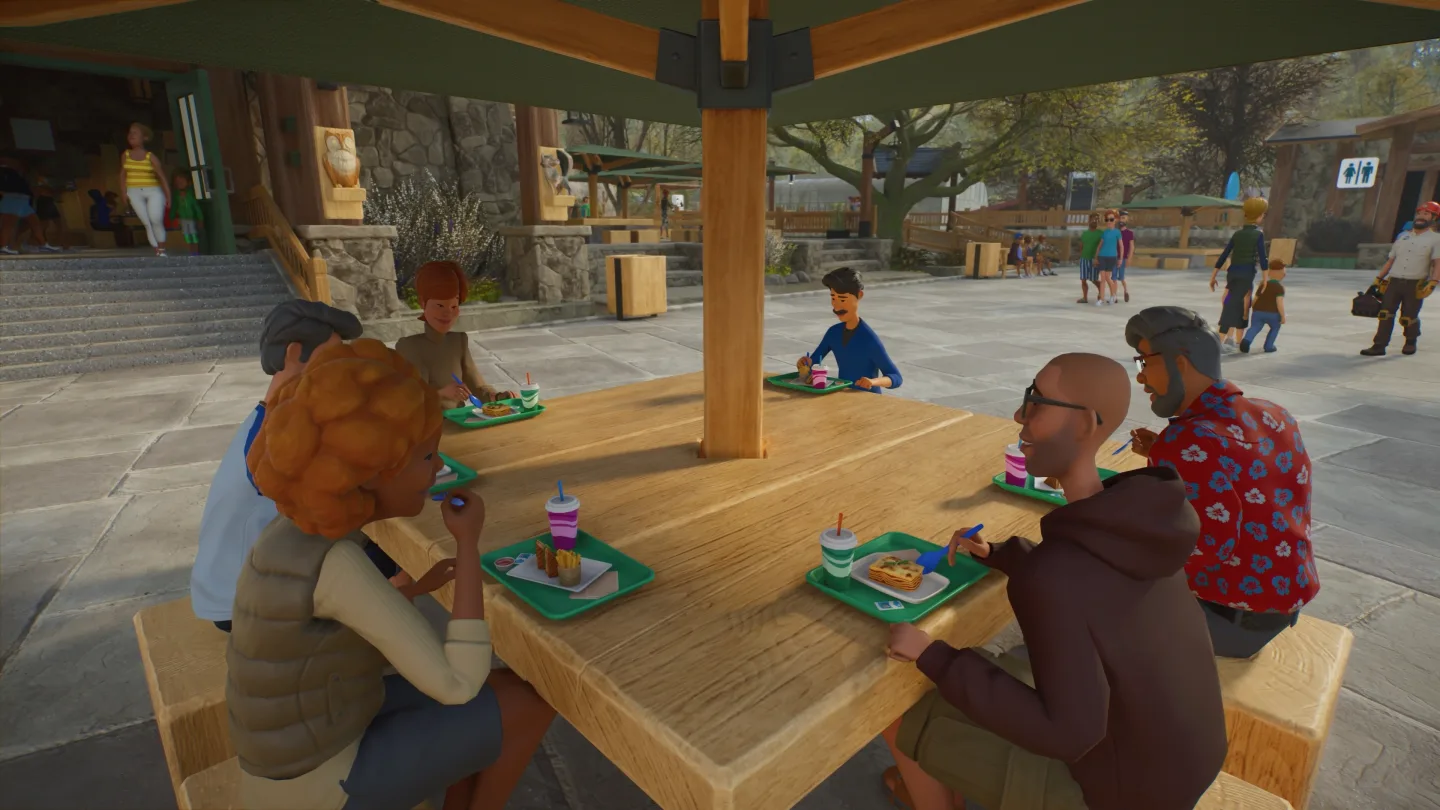
The covered seating area gives a concrete example of guests stopping to eat away from the main circulation purpose. Use it to think about the relationship between a food service, seating and nearby paths, rather than treating the restaurant view as a complete entrance plan.
Choose service placement from the guest route. If an amenity is visually hidden or requires an unclear detour, revisit its position during the blockout. The goal is a readable arrival area, not a claim that a particular distance guarantees guest satisfaction.
Keep operating needs visible too. Shops and restaurants require Vendor support, while visitor spaces create cleaning work for Caretakers. A finished building front is not the end of commissioning the area.
Establish one visual language
The entrance is a useful place to decide the zoo's material palette, colours and planting style. Planet Zoo 2 includes themes such as Planet, North, East, South and West, with architectural and scenery influences described for each.
Choose the pieces that support your intended setting. North suggests hardy, rugged scenery; East is associated with bright, tranquil tropical spaces; South uses organic and elegant scenery; West has a pastoral, temperate character. These are artistic descriptions, not requirements to match a particular animal.
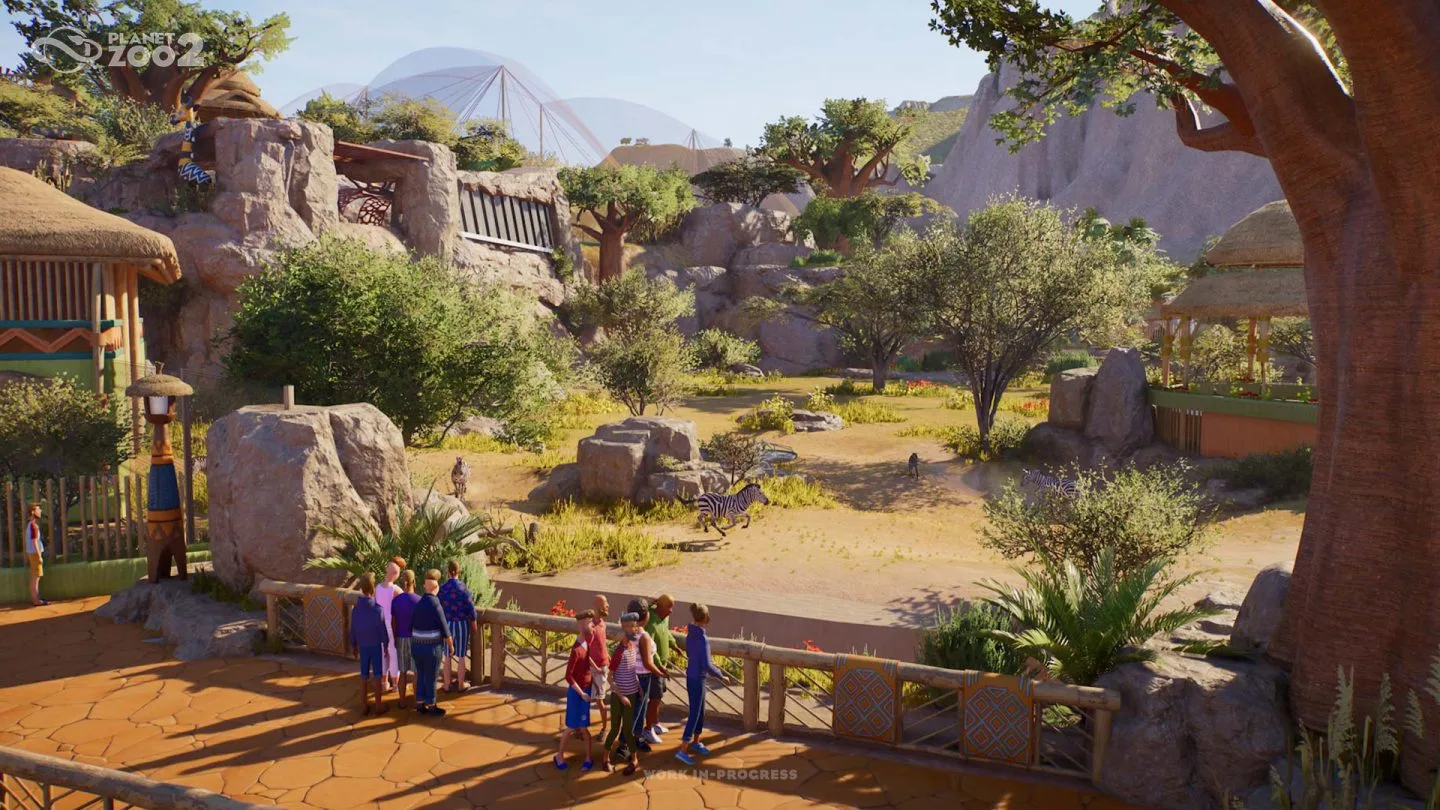
The guest path framed by rocks, plants and coordinated buildings illustrates a visual language that carries across architecture and landscape. Use the repeated materials and shapes as a design reference without copying the entire zoo.
Begin with a small palette you can repeat. A consistent roof shape, wall material and planting approach can make the entrance readable. Add variety through scale and composition after the major pieces feel connected.
Build from large forms toward small details
A practical construction sequence is to establish terrain and the main pathing, place the largest structures and landscape elements, then refine the smaller scenery. This follows the layered building approach described for Planet Zoo 2.
Resolve the facade's silhouette before filling it with tiny props. Check the roofline, entrance opening, relationship to the plaza and the way the building meets the surrounding landscape.
Large trees and rocks can frame the space. Smaller plants and decorative objects can then soften edges or support the theme. Planet Zoo 2 allows scenery scaling, which helps adapt objects to planters and other detailed arrangements.
Do not use detail to conceal an unresolved footprint problem. If the facade feels disconnected from the approach or the plaza, return to those broad forms. Adding another layer of decoration rarely clarifies a route that was unclear from the start.
Use planting to guide attention
Planting can mark the transition into the zoo, frame a landmark and connect the entrance to the first habitat. Use it deliberately rather than filling every empty patch with the same vegetation.
The nature brush can place a chosen mix of foliage, and the resulting plants remain individual scenery pieces that can be selected and moved. That makes it useful for establishing a broad landscape and then refining the most visible parts.
As a design suggestion, keep important sightlines open. Let the planting frame the first destination instead of hiding it completely. Use denser areas where you want a backdrop and lighter planting where guests need to read the route.
A landscaped entrance still needs a practical operating review. Check the actual paths and access after placing scenery. A convincing natural appearance does not establish that every route or service remains usable.
Give the first habitat a coherent connection
The entrance and first habitat should feel related without becoming the same design problem. The entrance establishes arrival; the habitat must still meet its animal's species-specific needs.
Use repeated materials, planting or landscape forms to connect them. For example, a rock treatment or vegetation palette can continue from the arrival area toward the guest viewpoint. This creates visual continuity while leaving room for the animal's actual environment.
Guests want a good view of animals, but animals also need places to retreat from view and recover from stress. Do not design the first habitat as a permanently exposed display simply because it is close to the entrance.
Keep welfare checks separate from visual checks. An attractive opening view is useful to the visitor experience, but food, water, space, terrain, plants, social conditions and enrichment remain part of the habitat's requirements.
Integrate staff support into the entrance section
Staff facilities and utilities do not need to be hidden from guests in Planet Zoo 2. Guests can enjoy seeing Vets and Keepers at work, allowing support buildings to be incorporated into the design.
Use that freedom to plan the first habitat's care area while the entrance blockout is still flexible. A nearby Keeper Hut and a coherent support route are more understandable than a service complex added to a distant leftover corner.
You can decorate staff facilities and open them visually by stripping down walls. Keep the workplace's function in view when doing so. Small props can provide character, while the core layout needs to serve the jobs around it.
This does not mean filling the main arrival space with every utility. Place support where it fits the section's work and visual plan, then verify the actual facility and access requirements in the game.
Review the entrance from a guest perspective
A top-down plan helps establish the footprint, but it can hide problems with height, visibility and the scale of the facade. Review the area at guest level as well.
Follow the intended sequence from approach to plaza and onward. Look for the first clear destination, the amenities a visitor can identify and the way planting frames the route. Check whether the entrance's visual language continues naturally into the next area.
Review from more than one angle. A scene arranged for a single attractive screenshot can become confusing from the side or behind. Planet Zoo 2's marketing builders describe carefully staged camera views, so do not assume every promotional composition is a complete operating layout.
Adjust the broad space first if the walk feels unclear. Save fine decorative changes for a route whose purpose is already understandable.
Commission the area before expanding beyond it
Use a final review before treating the entrance as complete:
- Confirm a clear approach and onward guest route.
- Check the placement of food, drink, toilets and rest where planned.
- Review the staff roles needed for the operating services.
- Confirm the first habitat and its care support are planned together.
- Inspect actual access after scenery and planting are placed.
- Walk through the area from several viewpoints.
- Leave a deliberate connection to the next zoo section.
The final connection is a design requirement for your current plan, not an unused future feature. It should point toward the next real destination you intend to build.
Once the released game is running, observe guest feedback and the area in use. A good entrance is verified through its clarity and operation, as well as its appearance. Refine the specific issue you observe instead of rebuilding the whole facade whenever a visitor problem appears nearby.