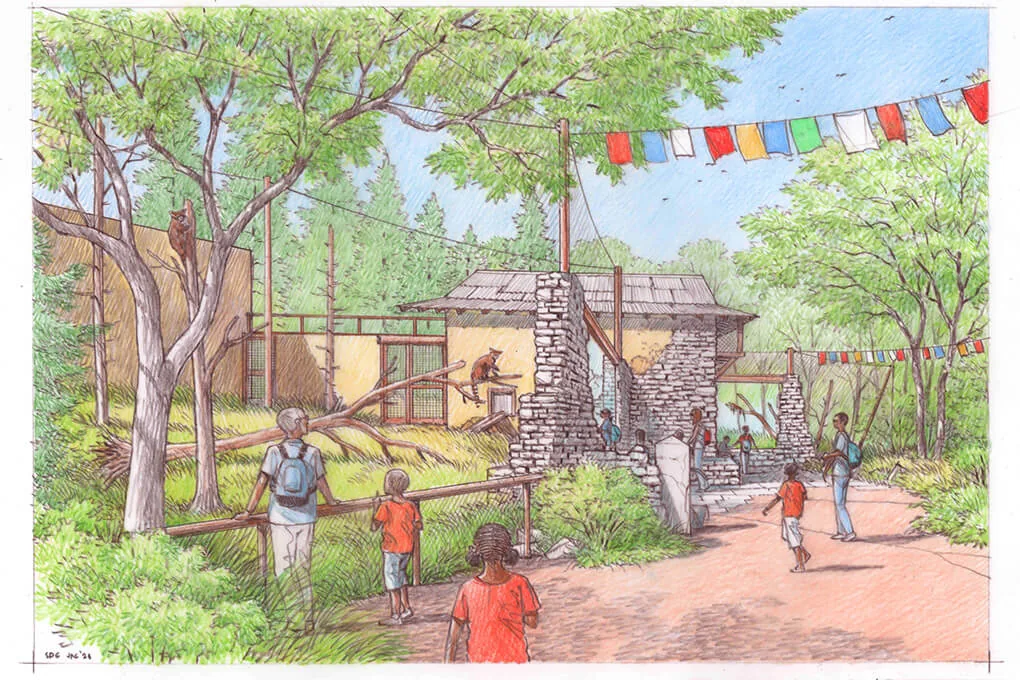
Useful Planet Zoo 2 zoo layout ideas begin with a clear visitor route, habitats sized for their intended animals, and support areas placed as part of the plan. Choose one organizing concept, such as a loop around a centerpiece, a sequence of regional zones, or a compact first zoo with room to grow. As of 12 October 2026, the game is unreleased, so these are proposed design approaches using confirmed building tools and animal systems, not tested layouts with guaranteed income or capacity.
Planet Zoo 2 supports fully aquatic habitats, roofed aviaries, improved pathing, terrain tools, and scalable scenery. Those features broaden the possible shapes of a zoo. They also make early planning more valuable: an aquarium, a tall aviary, and a terrestrial habitat each place different demands on the space and on how guests see the animals.
Choose one concept before filling the map
A layout becomes easier to organize when you know what visitors should notice first and how the areas relate. Decide whether the zoo should feel like a journey through environments, a collection of distinct gardens, or a landscape built around one memorable attraction.
This is a creative brief, not an animal requirement. Keep the narrative and visual choices separate from the conditions that the animals need. A regional theme can guide materials and planting, while the Zoopedia still determines whether the inhabitants fit their habitats and each other.
Write down the main feature, the initial habitats, and the intended visitor experience. A brief plan helps prevent unrelated ideas from competing for the same patch of land. You can still change the plan, but you will know which decision the change affects.
The confirmed scenery themes include Planet, North, East, South, and West. They provide different visual directions, from general zoo essentials to regional styles. Choose a restrained set of materials and plants for your first area, then let later zones vary intentionally instead of mixing every style at once.
Draw a rough plan with functional areas
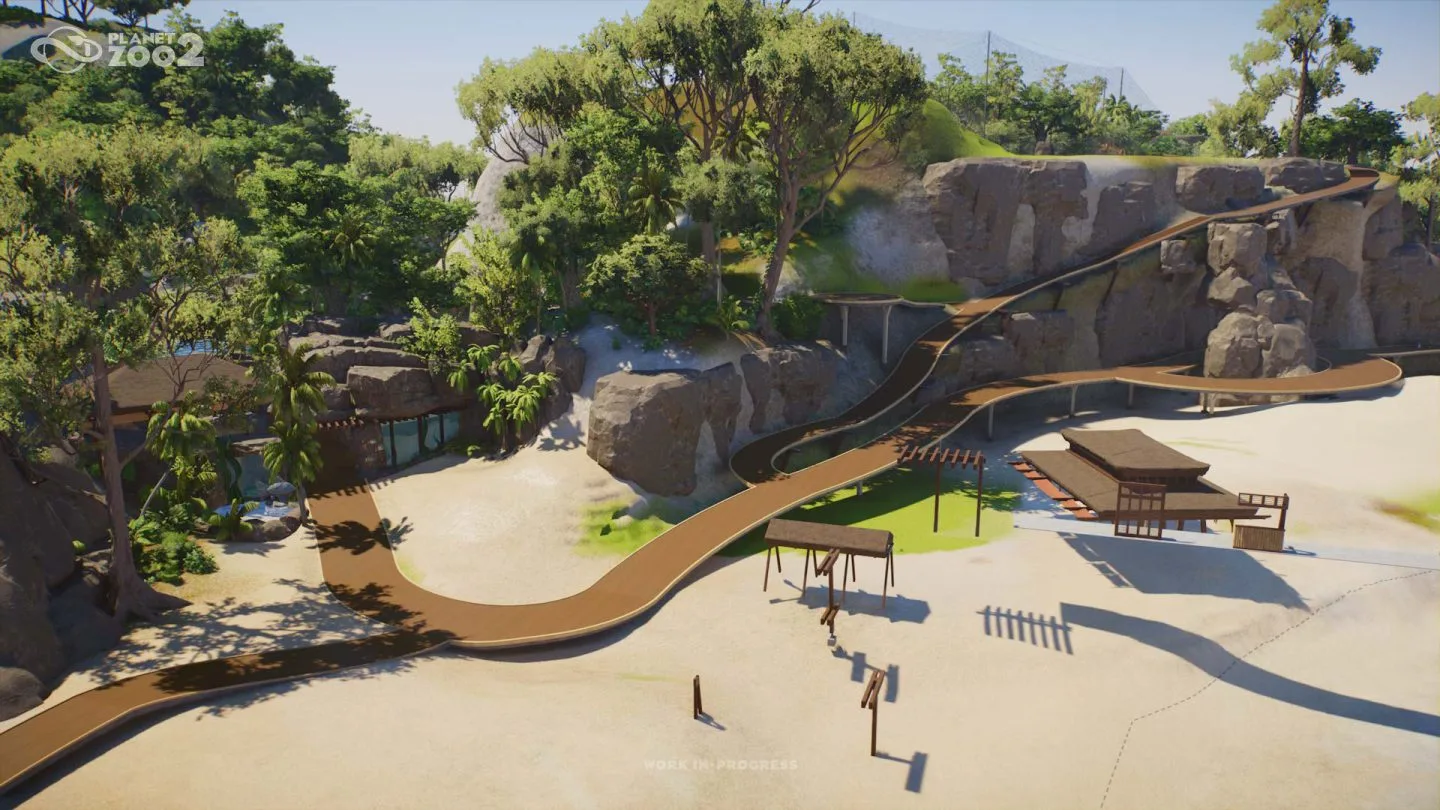
Start with the entrance, initial animal area, visitor amenities, and staff support. Use a rough overhead plan, terrain painting, or early path placement to see how these areas connect before detailed decoration begins.
A blockout is a planning stage in which major shapes matter more than small details. Place habitat borders and the largest landscape features, then establish the guest route. Trees, rocks, scenery, and decorative objects can be refined after the arrangement makes sense.
The sequel’s path stamp tool can create rough areas, including the floor space planned for an indoor aquarium. This gives you a way to test a building footprint against the surrounding paths before committing to every wall and decoration.
Reserve flexible space beside the first habitats. Species requirements, population changes, or a revised viewing route may prompt later adjustments. An attractive map that leaves no room to correct a habitat is a less forgiving starting point than a plan with deliberate expansion opportunities.
Keep rough areas readable. You do not need a detailed drawing for every bench, planter, or small rock. The initial plan should answer where visitors go, what they see, where essential services sit, and how staff support the animals.
Idea one: a loop around a centerpiece
A loop can organize a zoo around a major habitat or building. Visitors follow the surrounding route and encounter different views of the focal attraction before branching into nearby areas. This is a proposed layout pattern, not a verified navigation advantage built into the game.
An aquarium or large aviary can provide a strong centerpiece because it has a clear architectural presence. Choose the focal animal type first, then make enough room for its actual requirements. A centerpiece should fit the animals rather than forcing them into a preselected decorative shape.
Plan a few useful viewpoints along the route. A vista toward the main building can help establish the zoo's visual identity, while closer viewing areas show the animals. Avoid making every path segment compete for the same view.
Place visitor services where they fit the journey. Food, drink, toilets, and rest opportunities are confirmed needs, but no universal service spacing is established here. Use the current route and guest information to determine whether the planned locations serve the zoo effectively.
Keep the loop open to future additions. A branch can lead to another themed area without requiring the whole center to be rebuilt. That is a flexibility benefit of the proposed design, not a promise about performance, crowding, or revenue.
Idea two: distinct environmental zones
A zoned layout groups the zoo into areas with consistent terrain, planting, and building style. The transition between areas becomes part of the visitor experience. This works as a planning concept when you want each group of habitats to feel coherent.
Start with a manageable number of zones and one clear idea for each. A wetland area might focus on water and low vegetation, while another area uses a more wooded composition. These descriptions guide the design; they do not authorize unsupported species combinations.
Check each animal independently within the zone. Geographic resemblance does not establish habitat compatibility, and a decorative regional style does not replace terrain or plant requirements. Mixed habitats must be confirmed through the relevant species information.
Use shared visual elements to connect neighboring areas. Similar foliage near a guest path and inside a habitat can make the boundary feel less abrupt. The habitat still needs the appropriate enclosure and safe arrangement; hiding a barrier visually does not prove that scenery alone contains the animals.
Provide services and staff support as each zone grows. An area far from the initial visitor hub should not be assumed to have adequate service simply because those facilities exist somewhere else. Inspect the experience of that area rather than treating the whole zoo as one uniform space.
Idea three: a compact first zoo with an expansion edge
For a first project, a smaller initial area can make the relationship between habitats, guests, and staff easier to understand. Place the first attractions along a straightforward route and preserve an open edge for future growth.
This is a learning-focused design proposal. It does not identify the cheapest species, a mandatory starting balance, or an optimal number of habitats. Its benefit is that the functional arrangement remains understandable while you become familiar with the sequel's tools.
Choose the first habitat locations from their actual needs and the space available. Place support areas as part of the initial layout, then decide where visitors can view the animals without exposing every part of the habitat.
Delay intricate dressing along the planned expansion boundary. Small decorative commitments are easier to revise than a completed complex of buildings that locks the first habitat in place. A clear open edge gives you somewhere to test the next attraction.
As the zoo grows, add another visitor area or staff cluster when the developing route and workload justify it. Do not duplicate a full set of services automatically for every new habitat without checking what the current zoo needs.
Include staff facilities in the visible design
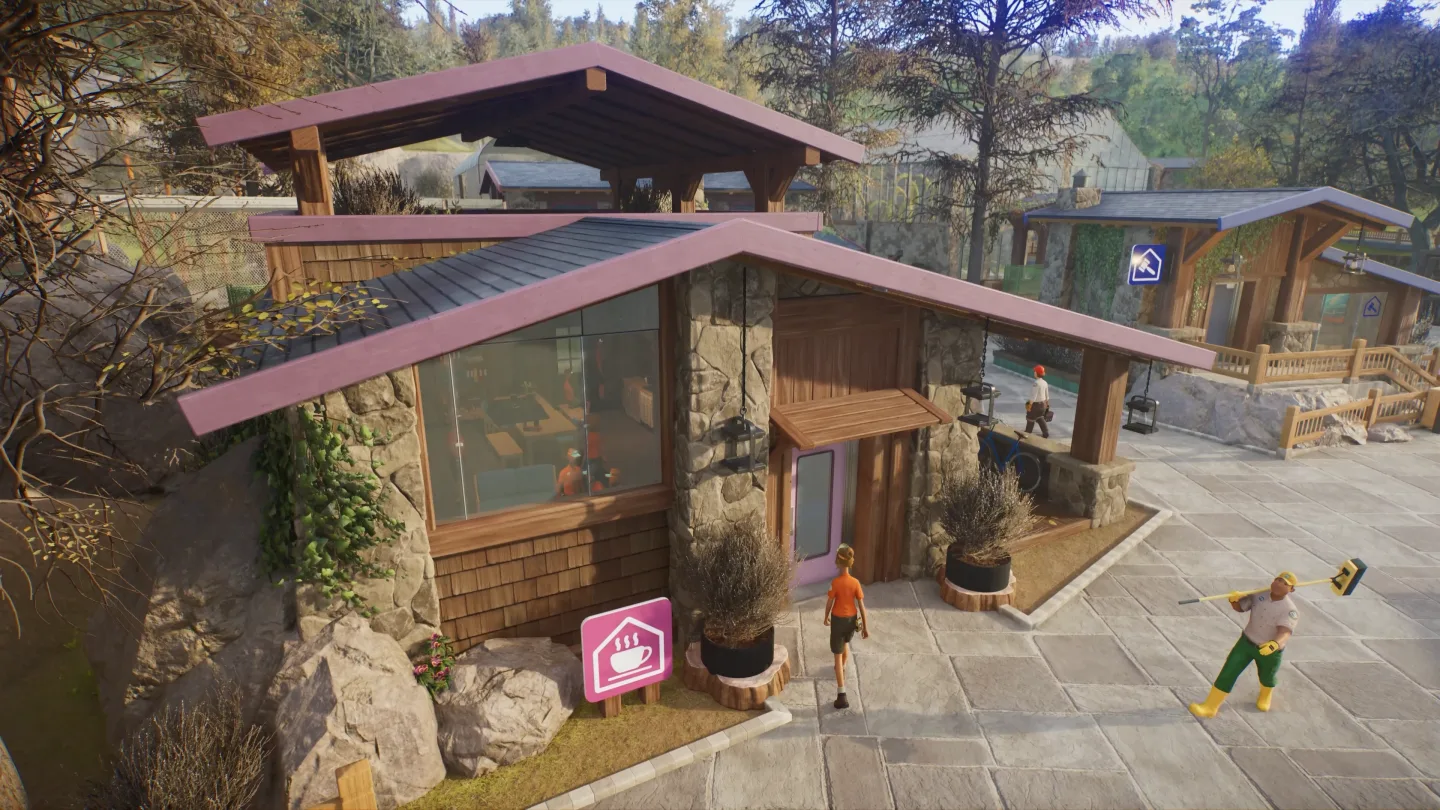
Planet Zoo 2 changes the old assumption that staff facilities must be hidden away from visitors. Guests can enjoy seeing vets and keepers working. This gives you more freedom to design a support area that belongs in the public-facing story of the zoo.
A visible care cluster can use the same materials, planting, and architectural language as nearby guest buildings. You can create a coherent area without sacrificing access merely to conceal every staff building behind distant scenery.
The buildings still need to serve their functions. Keepers provide feeding and care, vets treat animals and research, and other staff have distinct jobs. A photogenic facility arrangement is only part of a support plan.
Work Zones can divide the zoo into manageable chunks. A layout with understandable areas gives you a sensible starting point for organizing those zones, while staff workload and satisfaction provide the actual feedback. There is no confirmed universal staff travel-distance rule supplied here.
Scenery also matters to staff and guest happiness. Use it intentionally around the support area, but avoid treating an arbitrary number of decorative objects as a guaranteed happiness result. The aim is a scenic, coherent working environment.
Design viewing around the animal type
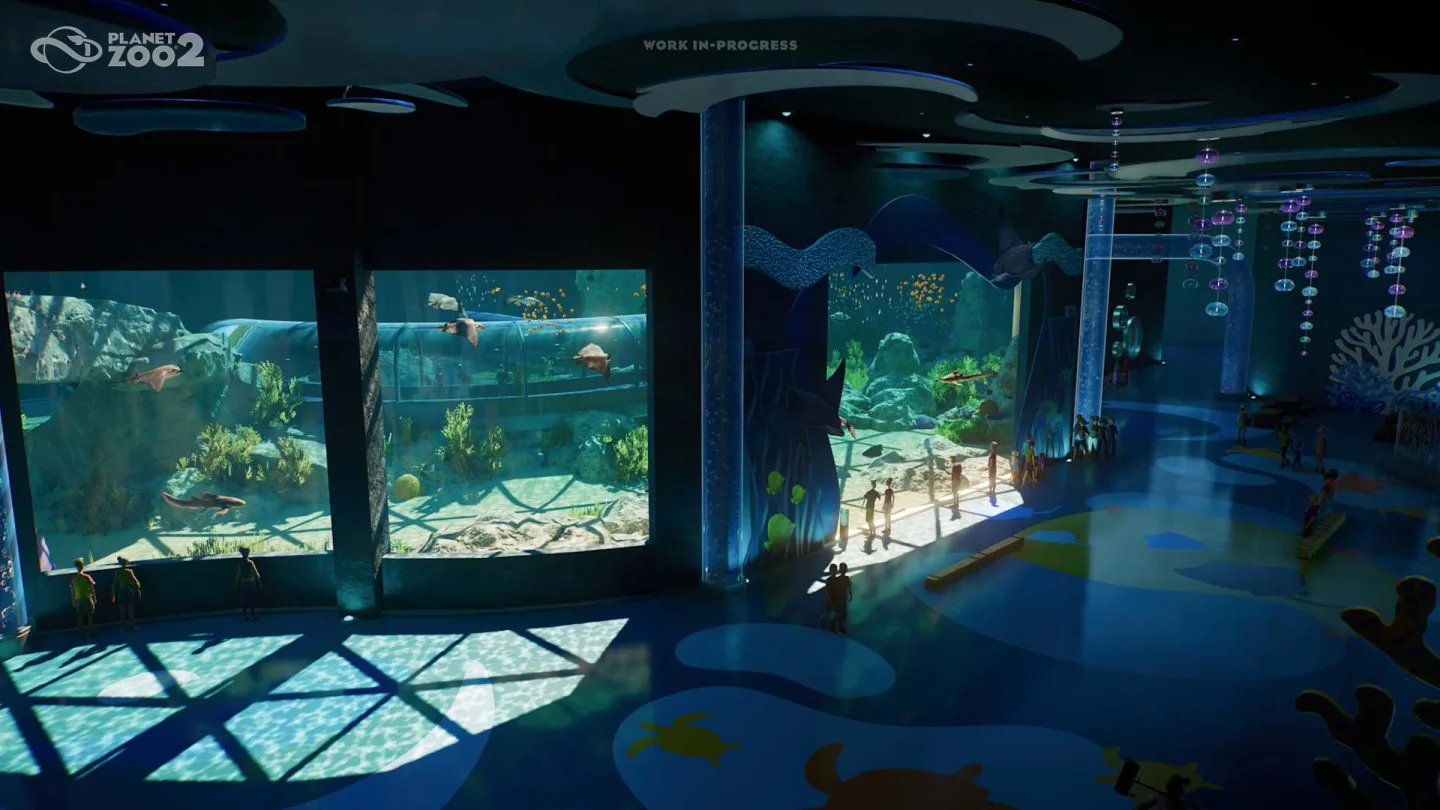
Terrestrial, aquatic, and flying animals can ask for different viewing arrangements. Choose the animal experience before finishing the visitor architecture. This helps you avoid discovering that the central feature is difficult to see from the route you have already completed.
Aviaries are a clear example. Birds may perch or fly overhead, and elevated walkways can provide appropriate views from inside or outside the habitat. Some birds are suitable for walkthroughs, but not every species can share that visitor arrangement.
An indoor aquarium can act as a visual anchor, with guest paths and sightlines directed toward the building. Its internal viewing arrangement and the animals' requirements still need to guide the actual build. Do not judge the whole project solely from the exterior.
Every viewing plan needs a welfare balance. Guests want a good view, while animals need opportunities to retreat and avoid stress. A layout with meaningful viewpoints and suitable hidden areas is more considered than one that turns the entire habitat perimeter into close viewing.
Follow the route from the visitor's perspective during your design review. Ask which animal or landscape feature becomes visible at each turn and whether the next destination is understandable. These are practical creative checks, not a claim that the game assigns a specific score to that inspection.
Use elevation to create a readable landscape
A change in elevation can produce a viewpoint over the entrance or an earlier area of the zoo. It can also help an aviary viewing route reach the level where birds are active. Choose elevation for a clear design purpose rather than adding slopes everywhere.
The confirmed terrain tools include a flatten-to-foundation brush, and the terrain can be edited in a body of water while water remains placed. The building toolkit therefore supports layered landscapes, but the exact result should be tested in the layout you build.
Establish the main levels before detailed dressing. It is easier to assess a route and habitat border while their shapes are visible. Once the circulation makes sense, smaller landscape elements can soften the transitions.
Avoid assuming that any slope is automatically a pathing problem or that a particular predecessor workaround is required. The sequel has a new pathing system, so use its actual tools and feedback. Keep a simple test area available when trying an unfamiliar combination.
Refine one area before copying its pattern
A repeatable visual pattern can make a large zoo coherent, but copy it only after checking that it works for its intended use. Review the habitat needs, guest view, services, and staff support in the first completed area.
Then copy the design language rather than every dimension. The next species may need different space, different nesting or flight conditions, or a different viewing approach. Consistency of materials does not require identical habitat shapes.
Use the nature brush for large planting areas and refine individual pieces where needed. Each plant remains a separate scenery piece that can be selected and moved. This supports broad landscape work followed by local corrections without requiring every detail to be placed in the first pass.
Keep the finished layout tied to the initial concept. A strong zoo plan has a clear route, appropriate animal homes, understandable care support, and room for its next stage. Those qualities can be checked in your own build without claiming that one untested layout is the universal best choice.