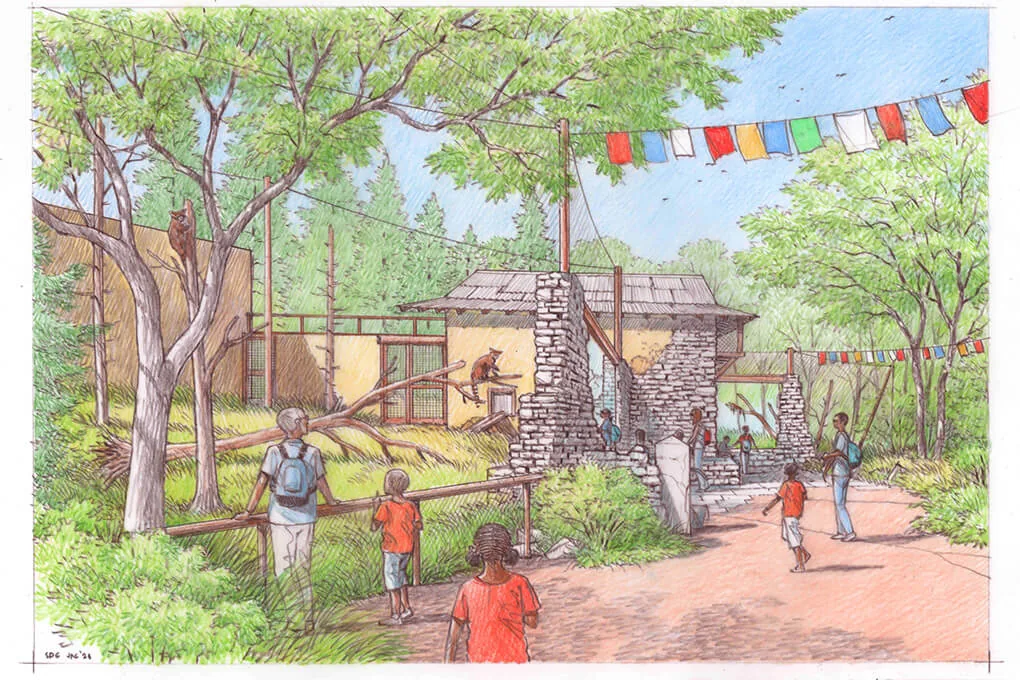
Planet Zoo 2 Workshop blueprints belong to the Frontier Workshop, where you can find ready-to-use community creations and upload your own. The game also supports premade blueprints and custom designs when building in Wildlife Reserves. This guide, updated on 12 October 2026 before the 13 October launch, covers choosing and evaluating a creation without inventing catalogue filters, download buttons or compatibility rules.
Start with the job the blueprint should perform in your zoo or reserve. Choose a creation that fits that job, assess its footprint and visual style, then check the actual paths, facilities and animal requirements after placement. A community building can save design work, but its appearance does not establish that your local setup is ready to operate.
Do not assume that a Steam Workshop item for the original Planet Zoo transfers into the sequel. The confirmed Planet Zoo 2 community service is Frontier Workshop; import procedures and conversion support are not established here.
Choose the job before browsing
A clear brief makes a blueprint easier to evaluate. You might need a restaurant shell, a themed guest building, a habitat component or a reserve structure. State the function, setting and available space before comparing creations.
The brief should be short enough to use while browsing. For example, identify that you need a small guest building beside an existing plaza, with materials matching the entrance and room for practical access. Those are your design constraints, not confirmed Workshop metadata fields.
Without a brief, a visually impressive creation can become a new project rather than a solution to the one you intended. You may end up redesigning paths and neighbouring areas simply to accommodate a building you did not need.
Keep a separate place for inspiration. A creation can be worth studying without being suitable for immediate use. That distinction helps you enjoy community work while making a practical selection for your current zoo.
Verify the game and content context
Check that the creation is presented for Planet Zoo 2 and your intended use. Similar franchise names, familiar animals and older community screenshots can lead you toward content from the original game.
Do not use a previous-game download guide as evidence of the sequel's process. This prerelease page cannot confirm file formats, import conversion, required accounts or the exact steps shown by the release interface.
If a creation lists requirements or dependencies in the actual Workshop, read them before planning around it. Record what is stated and whether it applies to your copy of the game. Do not invent a content requirement merely because the design resembles an older scenery set.
Keep the mode and location context clear too. A blueprint used as an artistic reference in Sandbox does not automatically establish its operating suitability in a financially managed zoo or a reserve project.
Evaluate the footprint against your existing space
The building's overall shape matters before its detail. Consider the ground area it occupies, its height, the direction of its entrances and its relationship to neighbouring paths and habitats.
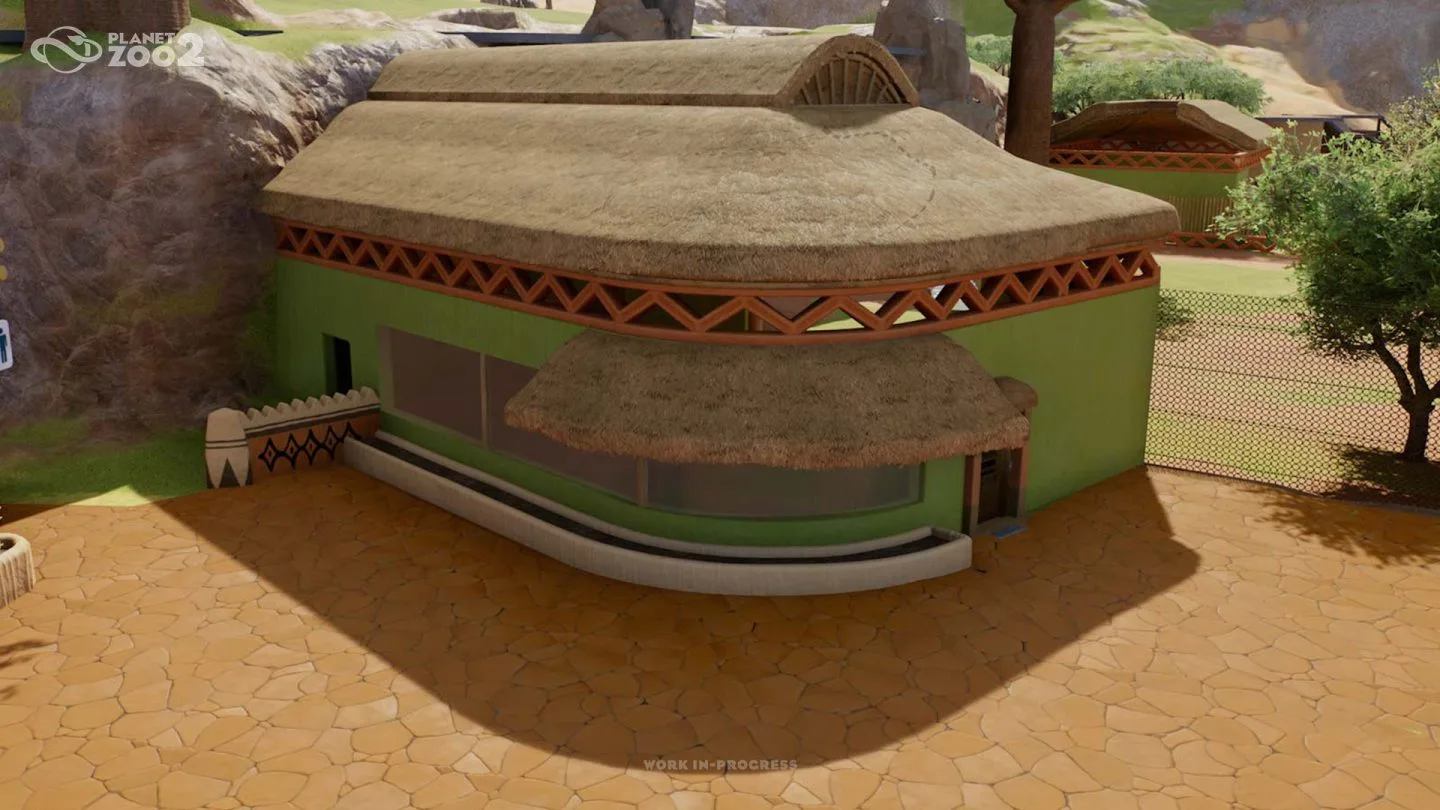
The rounded building provides an example of a distinctive silhouette with a glazed front and thatched roof. It is shown as an in-game building reference, not a claim that this exact building is available as a downloadable Workshop item.
Use the example to think about placement. The front needs an appropriate approach, the curved shape needs enough room around it and the roofline should fit the surrounding scenery. A building that looks balanced in an isolated screenshot may dominate a small existing plaza.
Begin with a simple footprint comparison. If you need to move an entire habitat or rebuild a main route to fit the creation, reconsider whether it is solving the current problem efficiently.
Check presentation from more than one angle
A creation's best screenshot can show its strongest face while concealing an unfinished side or an awkward relationship to terrain. Review whatever views and descriptions are actually available, then inspect the placed creation from several directions.
Look at the back, roof, entrances and the way the structure meets the ground. These checks are design advice, not a promise that every Workshop listing includes a particular set of images.
Planet Zoo 2's marketing builders describe scenes arranged for specific camera angles. That is useful context when evaluating any attractive build: a convincing image does not necessarily represent a complete space from every perspective.
Choose a blueprint whose full scope you understand. A facade or decorative corner can still be useful if that is what your project needs. The problem is treating it as a complete operating building when it was only intended to provide a view.
Match the materials to the zoo's visual language
Planet Zoo 2 includes scenery themes with different architectural and landscape characters. A creation should connect to the visual language you have chosen for the area where it will sit.
Compare broad features first: roof shape, wall materials, dominant colours and the style of nearby planting. Those features carry more visual weight than a small prop added to make two unrelated buildings seem connected.
Scaling and flexi-colour are confirmed creative tools. They provide ways to adapt scenery, but this guide does not establish which parts of any individual community creation can be changed in the final interface.
Keep changes purposeful. If the blueprint needs extensive alteration to match the area, it may still be a useful starting point, but count that work in your decision. Another creation or a simpler custom build might fit the brief more directly.
Plan paths and access independently
A blueprint's attractive path setting in a screenshot does not establish that your local route is connected. Evaluate how the creation will meet the guest and staff circulation already planned in your zoo.
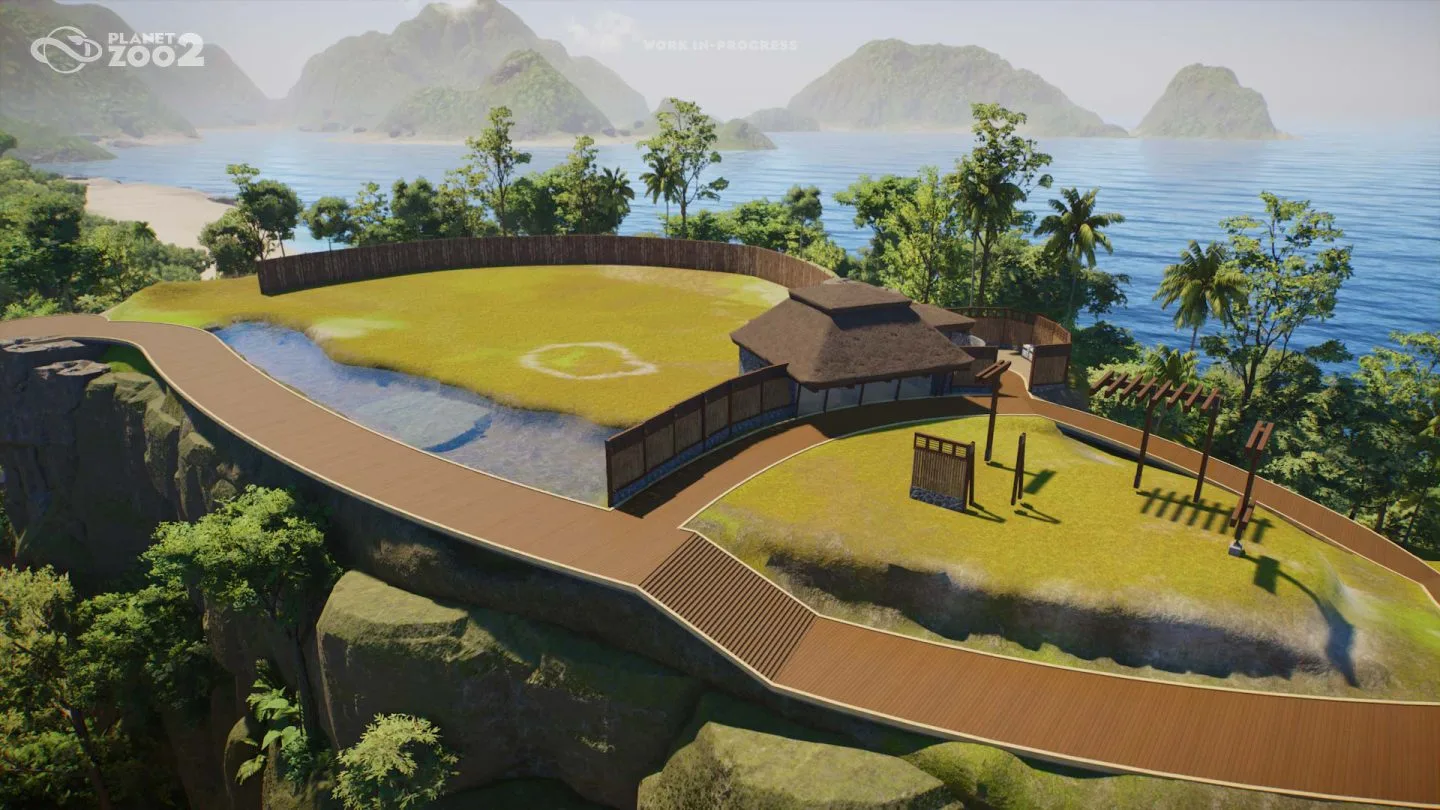
The habitat blockout shows the relationship between water, land, guest paths and a support building. Use this kind of broad view to judge where a community creation belongs before adding its details.
For a guest building, identify the approach and the route onward. For a care or support building, identify the jobs it is intended to serve and the practical area around it. Check actual access after placement using the information available in the released game.
Avoid detailed pathing instructions based on the original game's tools. Planet Zoo 2 has a new pathing system and stamps of different shapes and sizes. Use the actual options you see rather than assuming an old shortcut or connection procedure remains unchanged.
Distinguish scenery from a functioning service
A completed shell can make a facility look ready without establishing that its service is operating. Guest services need the relevant facilities and staff, while animal-care areas need an appropriate support arrangement.
Vendors serve shops and restaurants. Keepers feed and care for animals. Mechanics maintain facilities and habitats, while Vets treat sick animals and conduct research. Use those confirmed responsibilities to identify what the placed creation is meant to support.
If a blueprint provides only architecture, treat it as architecture. Add or verify the actual function required for your project instead of assuming the decorative design includes it.
This guide does not claim that a particular blueprint format always includes staff assignments, utility connections or path segments. Inspect the actual contents and local requirements. The useful outcome is a creation that performs the job in your zoo, not simply one that has appeared on the map.
Apply animal requirements to habitat-related creations
A community habitat design should be evaluated against the species you intend to house. Animals have their own requirements for food, water, space, terrain, plants, social conditions and enrichment.
Do not interpret a creator's species label as a substitute for checking the animal's needs in your current game. A design may be an artistic example, a partial habitat or a starting point that requires adaptation.
Fully aquatic animals bring aquarium construction, filtration and keeper-access considerations. Flying animals use custom aviaries with barriers, support poles and dynamic mesh covers. The habitat type is part of the practical brief, not just an aesthetic label.
Keep welfare and appearance as separate reviews. A beautiful animal home still needs to satisfy the actual requirements of its residents. Verify those conditions after placement and adjustment rather than claiming success from a screenshot alone.
Evaluate reserve blueprints for conservation work
Wildlife Reserves support premade blueprints as well as your own designs. Their research networks include Research Outposts, Research Vehicles, Observation Platforms, Acoustic Monitors and Camera Traps.
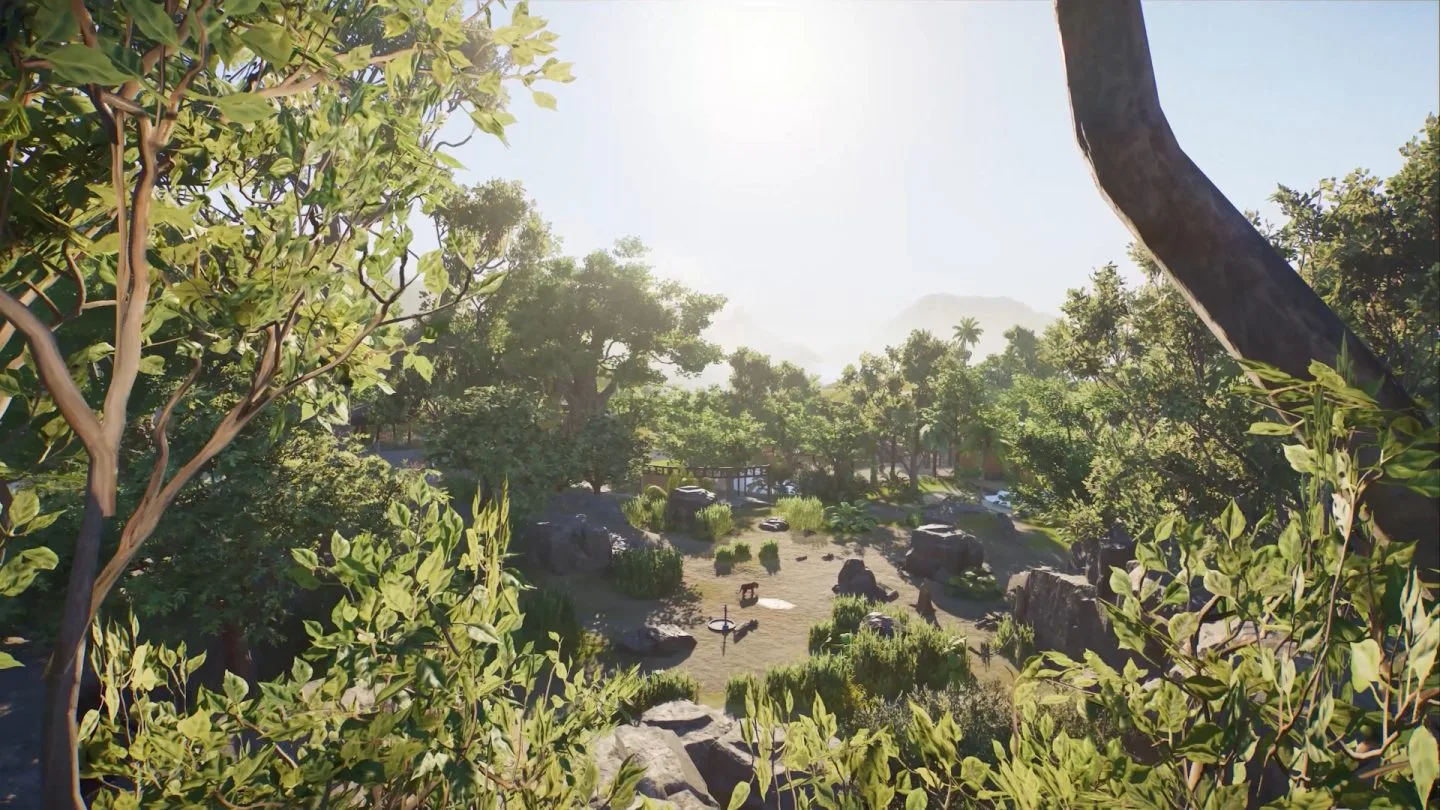
The forest and river environment illustrates a reserve setting where a structure must fit a wider ecosystem. A building that looks suitable in a zoo plaza may need a different visual and functional treatment in this environment.
Identify the conservation or research job the blueprint will serve. Check the ecosystem plan, the animals involved and the actual network requirement before deciding where to place it.
Do not let a convenient structure replace ecosystem restoration. Pollution cleanup, invasive-plant removal and environmental balance remain part of preparing the reserve. A blueprint can help with construction, but it cannot be assumed to satisfy those separate conservation tasks.
Place and verify one creation at a time
A controlled placement review makes problems easier to understand. Bring in one creation, inspect its contents and fit, then address the specific adjustments needed before adding several more.
Use this sequence:
- Confirm the exact game and the creation's stated scope.
- Read any requirements actually provided by its listing.
- Compare the footprint and height with your available area.
- Inspect the creation from several viewpoints after placement.
- Check the guest and staff access relevant to its purpose.
- Verify the operating facilities and support it needs.
- Apply species or reserve requirements where relevant.
- Review the final result in use before treating the project as complete.
This sequence avoids unverified button names. Follow the actual Workshop and placement prompts in your released copy of Planet Zoo 2.
Keep adaptation work proportionate
If the creation fits the main brief, make the small changes needed for your site. Adjust the surrounding landscape, visual transitions and local access while retaining the parts that made it useful.
If it repeatedly forces larger redesigns, reassess the selection. The point of using a blueprint is to support your build, and the amount of adaptation is part of its practical cost in time and effort.
Do not treat the creator's original presentation as an obligation to copy the whole environment. A building can be integrated into a different zoo if its structure and function fit, provided you verify the relevant conditions.
The completed result is a community creation whose scope you understand and whose local setup works for your intended job. It should fit the zoo or reserve around it, support the necessary care or services and remain convincing beyond its best screenshot.